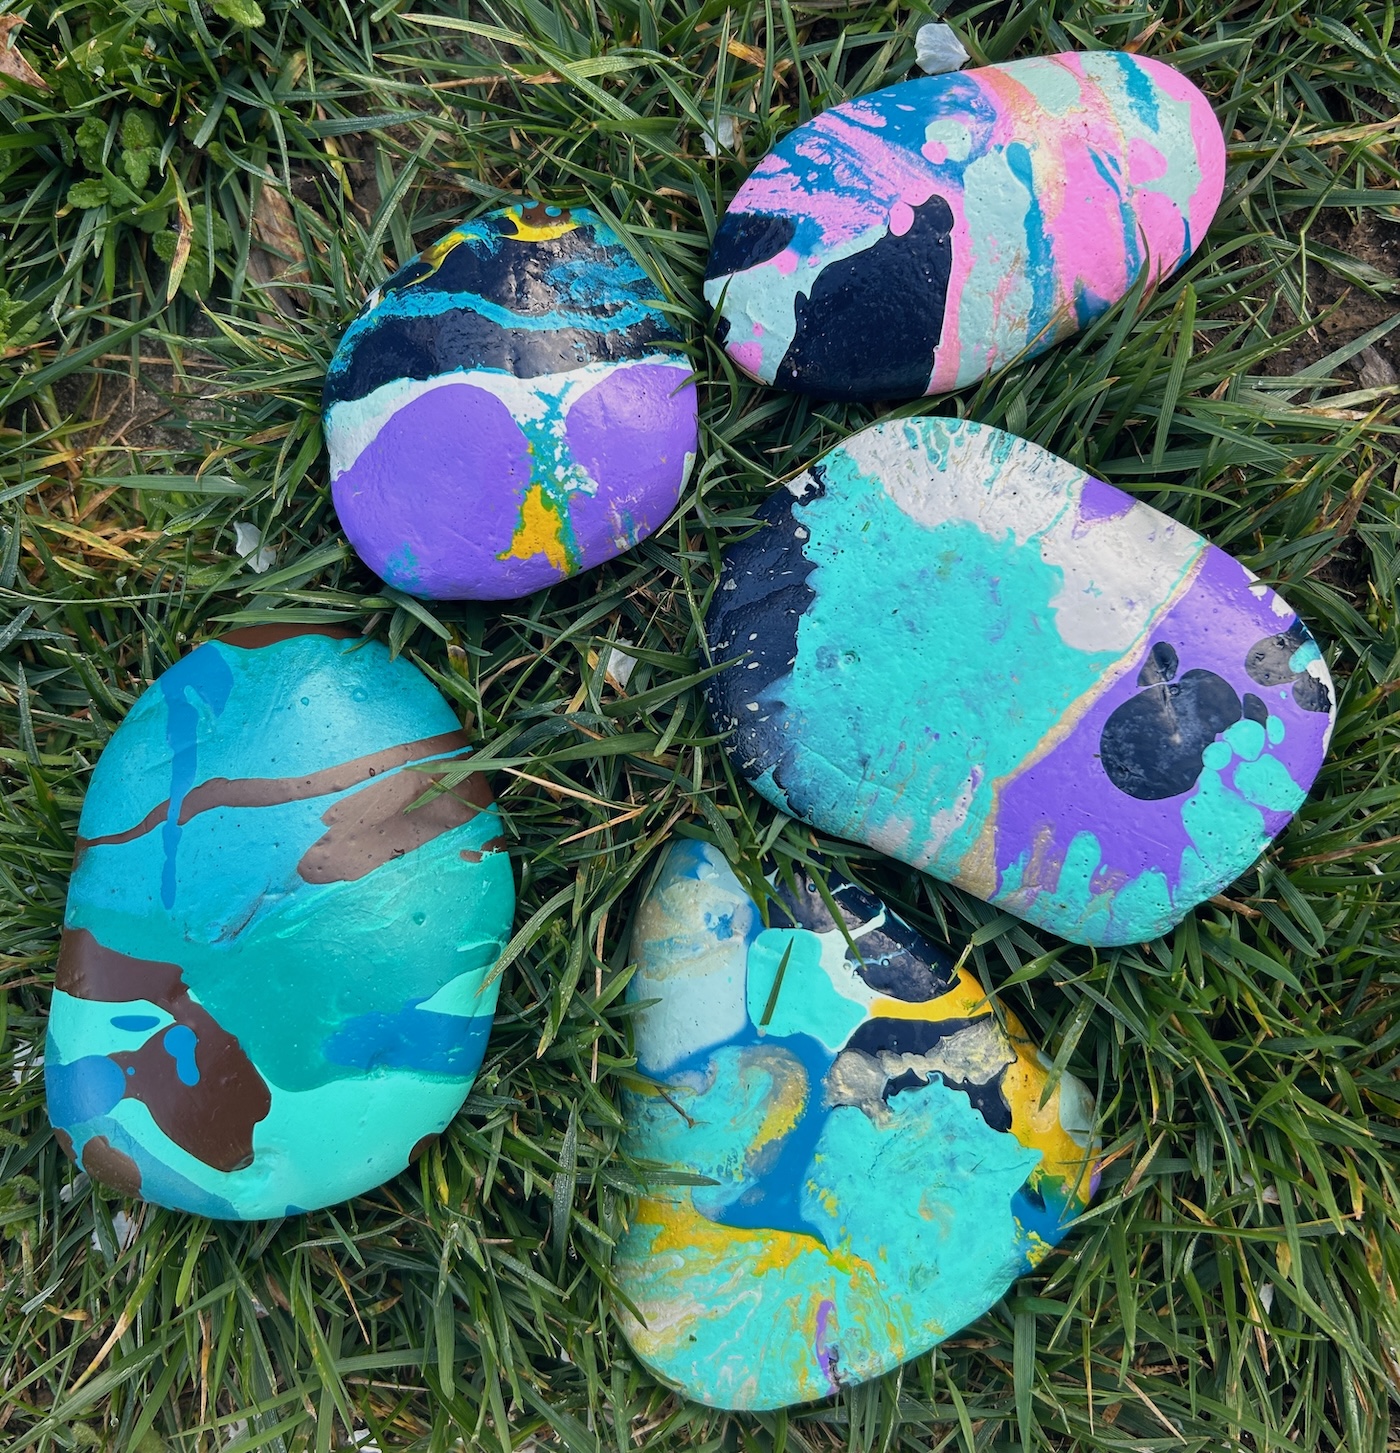
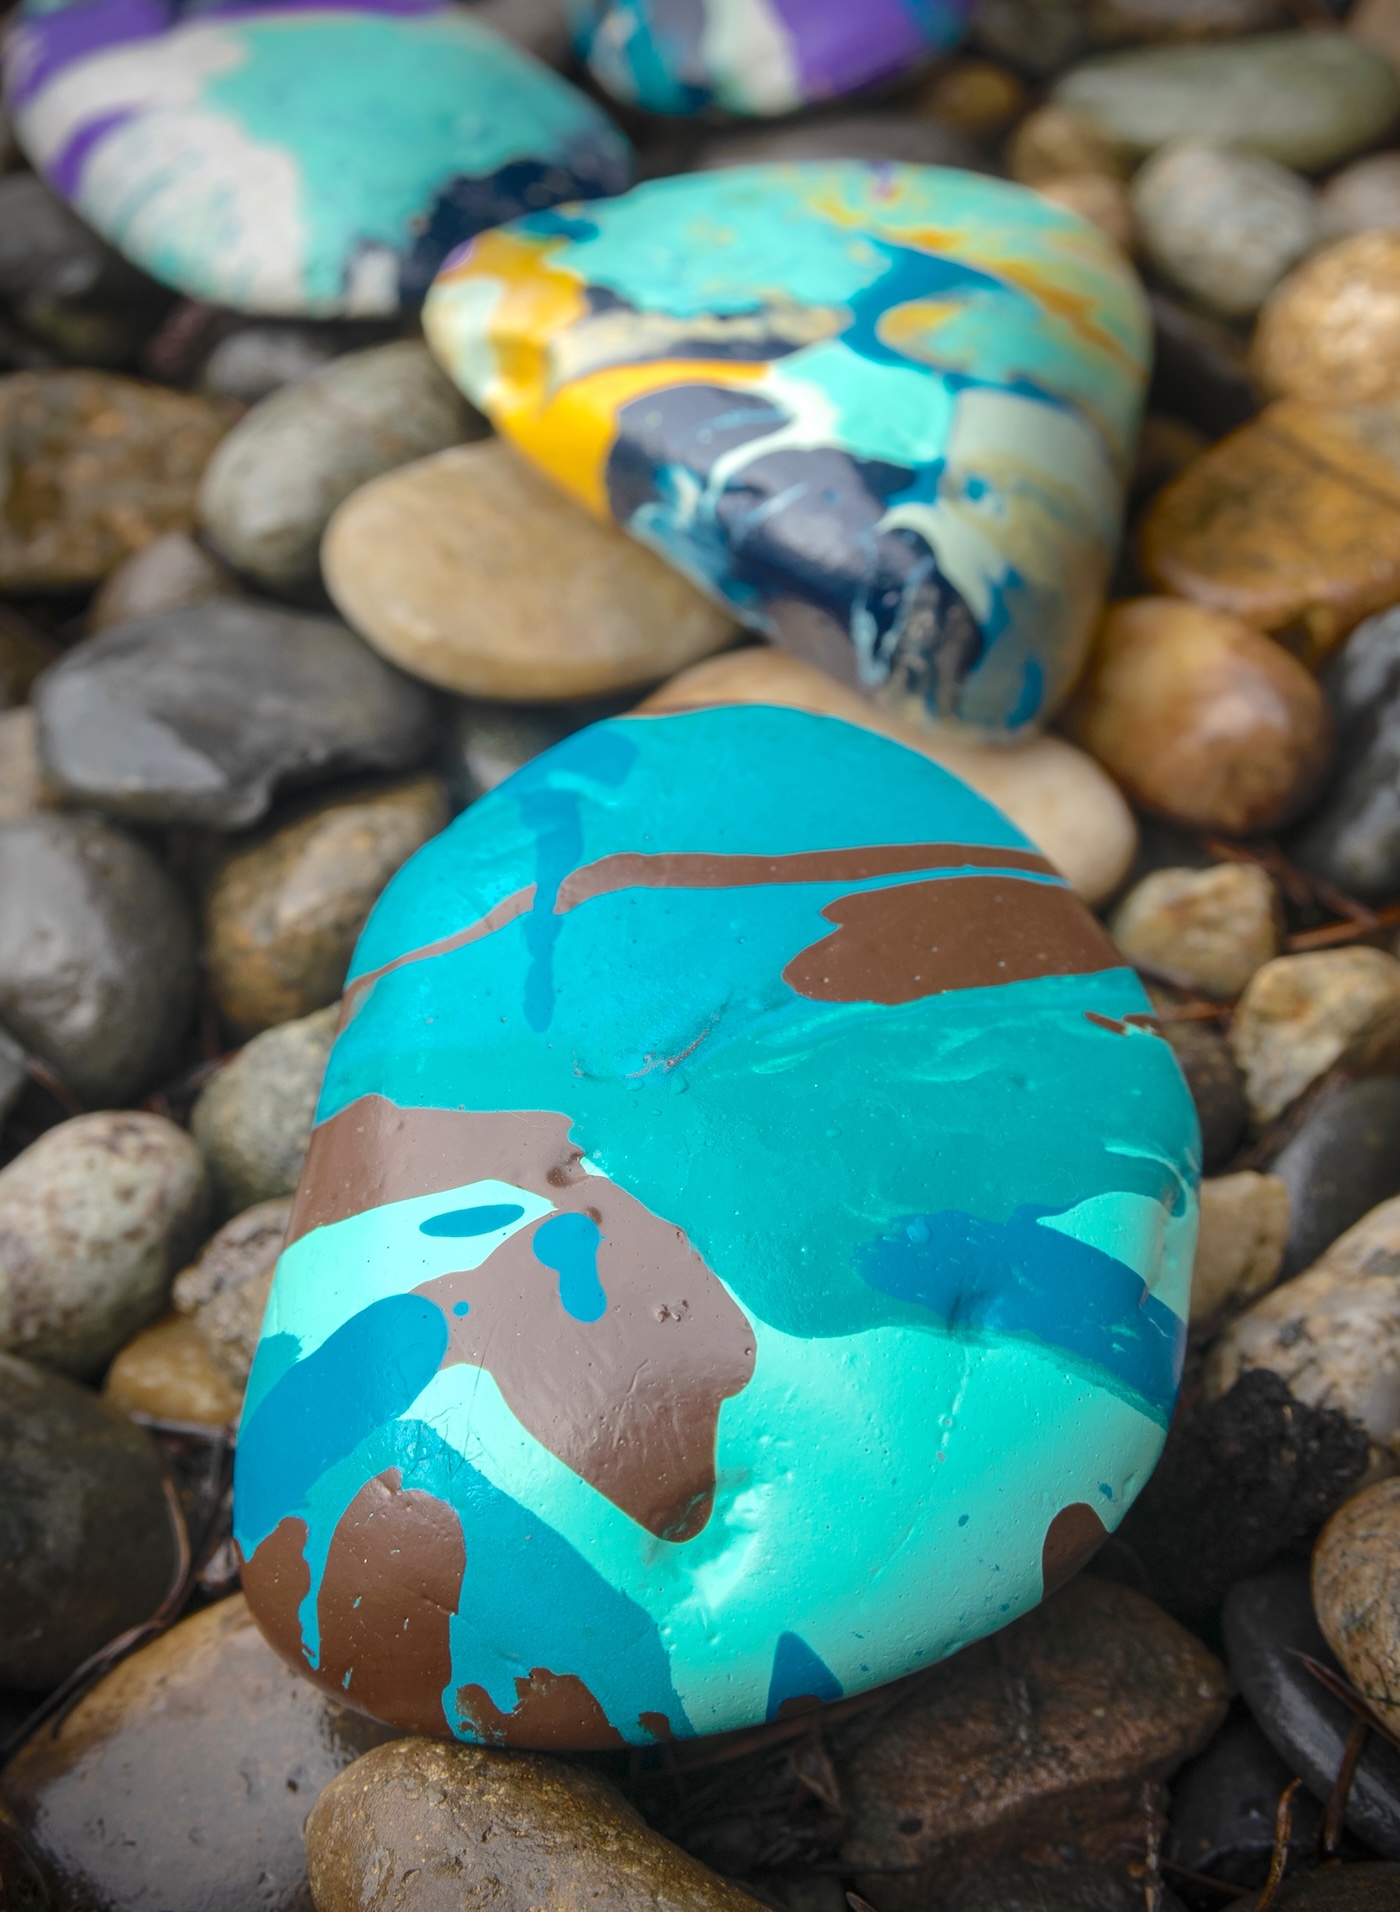
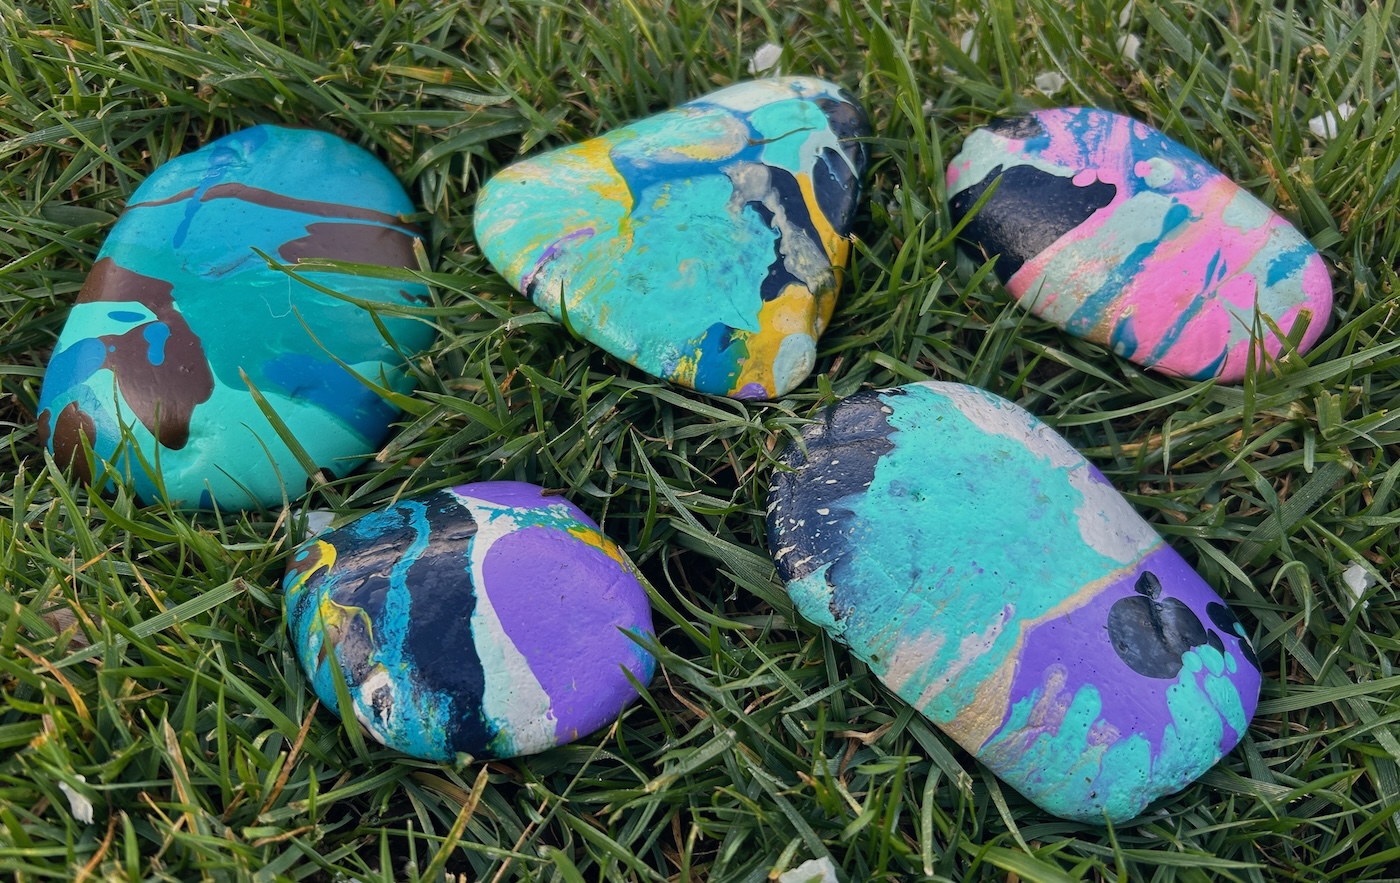
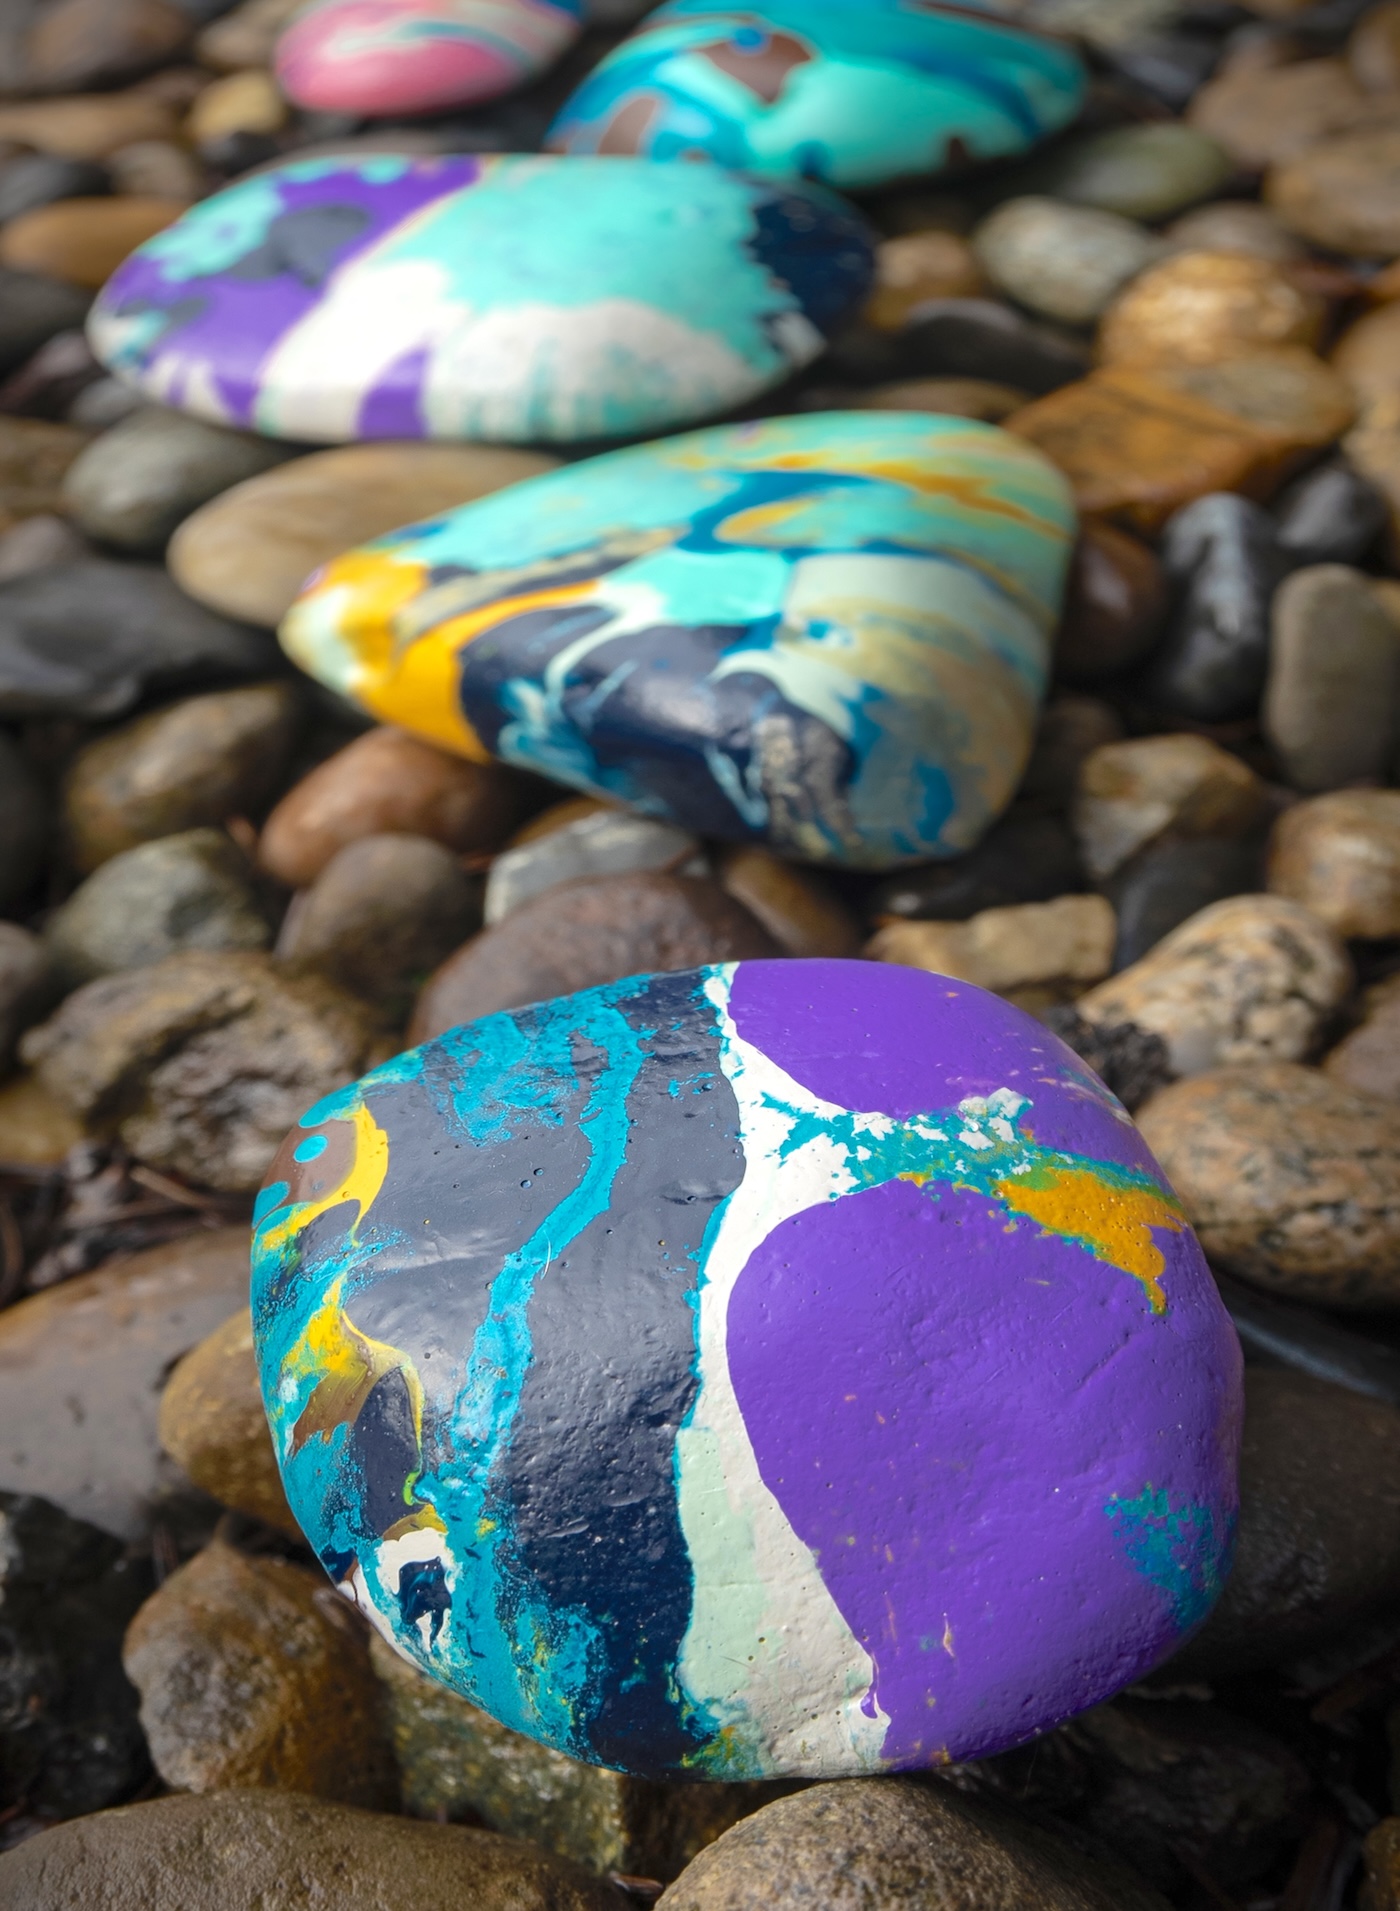
Discover ways to create gorgeous marbled rocks with acrylic paint and Mod Podge! This effortless DIY challenge is ideal for including a colourful, creative contact to your private home or backyard.
I’ve been into rock portray for fairly awhile . . . it’s soothing. In case you’re on the lookout for a craft that retains you conscious and places you right into a excellent headspace – seize some rocks from the yard and some bottles of paint.
I promise you, it would change your life.
Lately I observed that marbling portray strategies have been getting extra fashionable, and I believed to myself first, “I’m wondering if I can do that with Mod Podge.” , as an alternative of the pouring medium that’s sometimes used.
I made a decision that I’d strive it. And as an alternative of utilizing a wooden floor (which I sometimes use to check every part), I’d use rocks.
My thought course of was that if it didn’t work, I’d simply throw the rocks within the yard. They’d at the very least be colourful.
It seems that these marbled rocks have been so much simpler to make than you may suppose! Marbling at all times seems to be spectacular however is surprisingly effortless to do. And the Mod Podge WORKS as a pouring medium!!!
In case you love experimenting with coloration and texture, you’re going to have a blast marbling rocks with acrylic paint and Mod Podge.
Whether or not you utilize them for dwelling decor, backyard accents, and even as paperweights, these rocks are going to face out. Seize your favourite paint colours, and let’s get began on this enjoyable and artistic DIY!
To get began, you’re going to want rocks. Search for bigger, clean rocks which have a pourable sort floor. You’ll see how the shapes of the rocks affect the outcomes as you do that challenge.
Whether or not you reside within the metropolis or within the nation, it’s best to have the ability to discover rocks (although ask earlier than taking).
Along with the rocks, you’re going to want the next:
- Mod Podge
- Acrylic paint (any colours) – you should use multisurface paint and they’ll final a very long time outdoors
- Tiny containers for mixing (one per coloration)
- Paintbrushes
- Dish cleaning soap
- Paper towels
- Wire rack or BBQ skewers and tin dishes
You’re in all probability questioning what the wire rack/BBQ skewers are for. You want a rack to dry the rocks, and it wants grates. An everyday wire rack works properly, however you can even poke BBQ skewers into tin bread dishes from the grocery retailer to make your personal rack.
Get the total, printable tutorial under:
Marble Painted Rocks
Discover ways to marble rocks with paint and Mod Podge utilizing this straightforward tutorial.
Prep Time15 minutes minutes
Energetic Time30 minutes minutes
Dry Time12 hours hrs
Whole Time12 hours hrs 45 minutes minutes
Yield: 5 rocks
Price: $2
-
Earlier than starting, wash your rocks with heat water and dish cleaning soap to take away the filth. Let dry on paper towels.
-
Use a wire rack or create your personal pouring rack. Do that by inserting BBQ skewers lengthwise throughout an affordable baking pan from the grocery retailer. The BBQ skewers have some extent on one conclude, and you may push them by means of the tin simply. Do that roughly ¾ inch to 1 inch throughout the highest. Lay your rocks flat on the skewers.
-
Place your little mixing containers out in your work floor. In every container, place about 2 tablespoons of decoupage medium, a bit of little bit of water, and a squirt of paint. You need about 1 to 1.5 tablespoons of paint in every container with the decoupage medium and water.
-
Shake or combine the container of decoupage medium, water, and paint till absolutely blended. Do that with every of the colours you wish to use.
-
Commence by selecting a coloration and thoroughly pouring it onto the rock. You don’t need to cowl all the rock as a result of you’re going to use different colours. Simply pour it on one space and let it circulate off the perimeters.
-
Repeat this similar course of above with one other coloration, letting it circulate into the colour you used earlier than.
-
Proceed including colours in varied areas on the highest of the rock, till all the factor is roofed. You may add drips and drops of coloration right here and there on the conclude.
-
End off the rock by portray the underside (non-compulsory, if desired). Repeat with further rocks. Let dry fully.
If the rocks are going to be within the direct solar, I extremely suggest further coats of Mod Podge Outside (you probably have it). Or you should buy an extra UV sealer. Common Mod Podge will not be UV resistant.
After you’re achieved portray with the rocks, you’ll be able to write messages on high or beneath with Sharpies or oil-based markers. If you’re leaving them for others outdoors, you’ll be able to write messages on the underside. It’s enjoyable to place a smile on somebody’s face once they uncover your rock artwork!
Have you ever tried marbling rocks earlier than? Let me know within the feedback!