


More Games
-
DIY Merry Christmas Decor for Your Mantel
Learn to make this “Merry” Christmas decor utilizing paper mache letters, a wooden plaque, and different enjoyable vacation provides! Such a cute conc [...] -
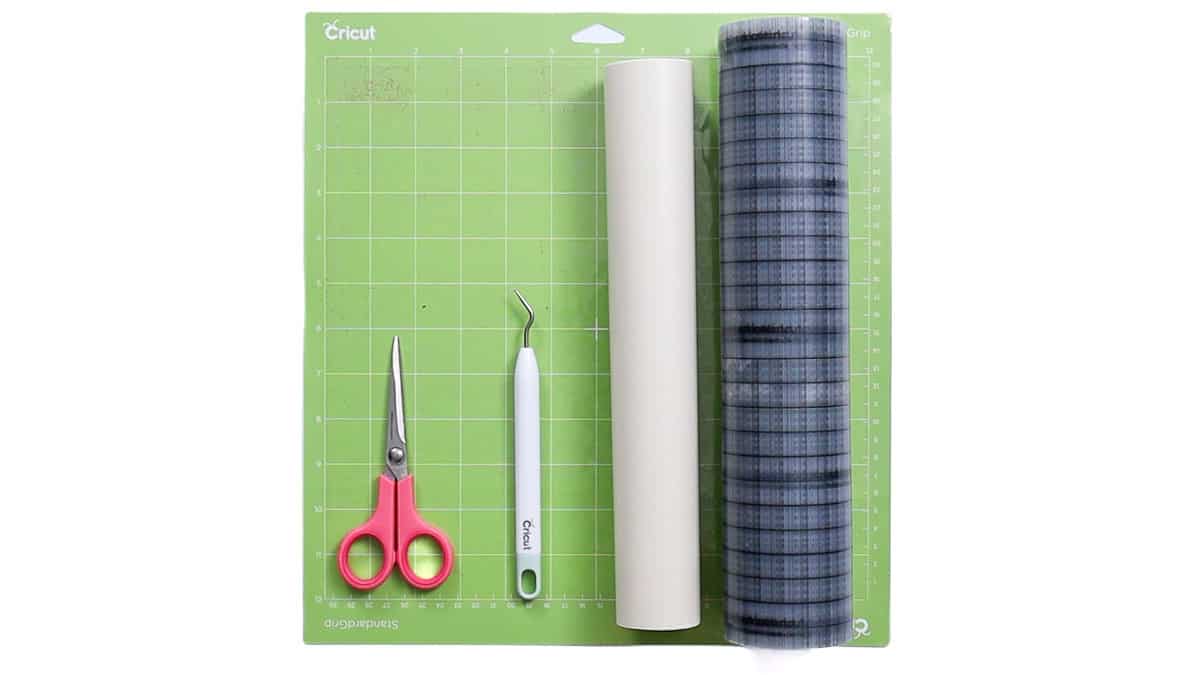
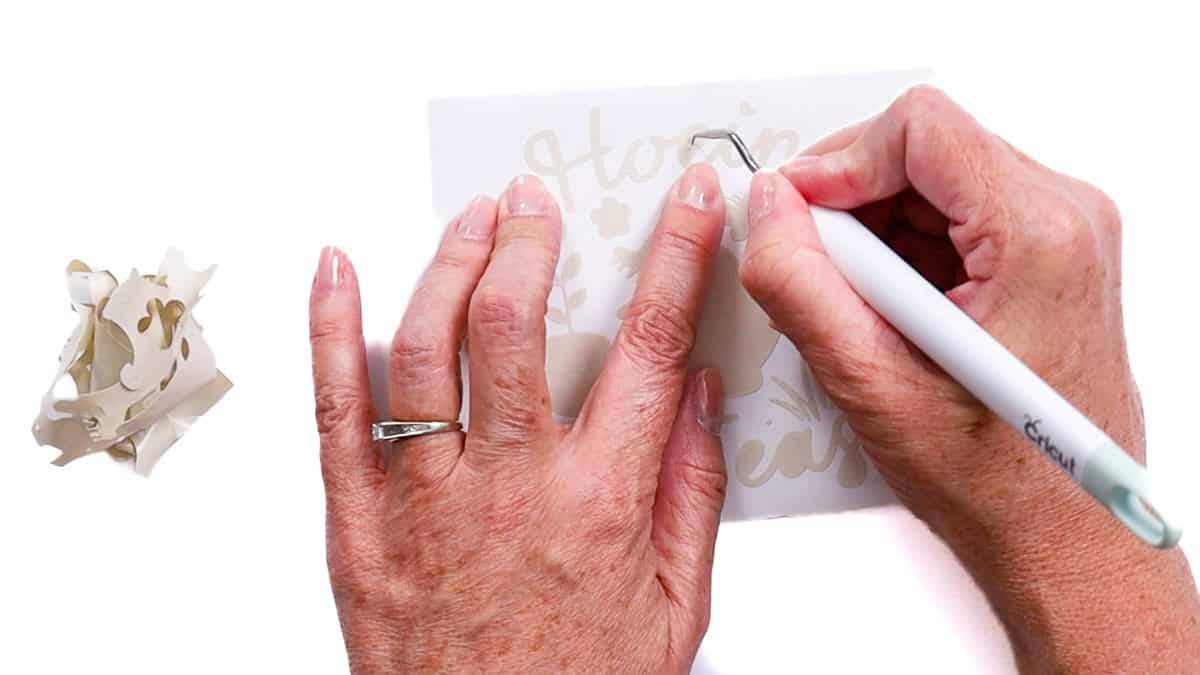
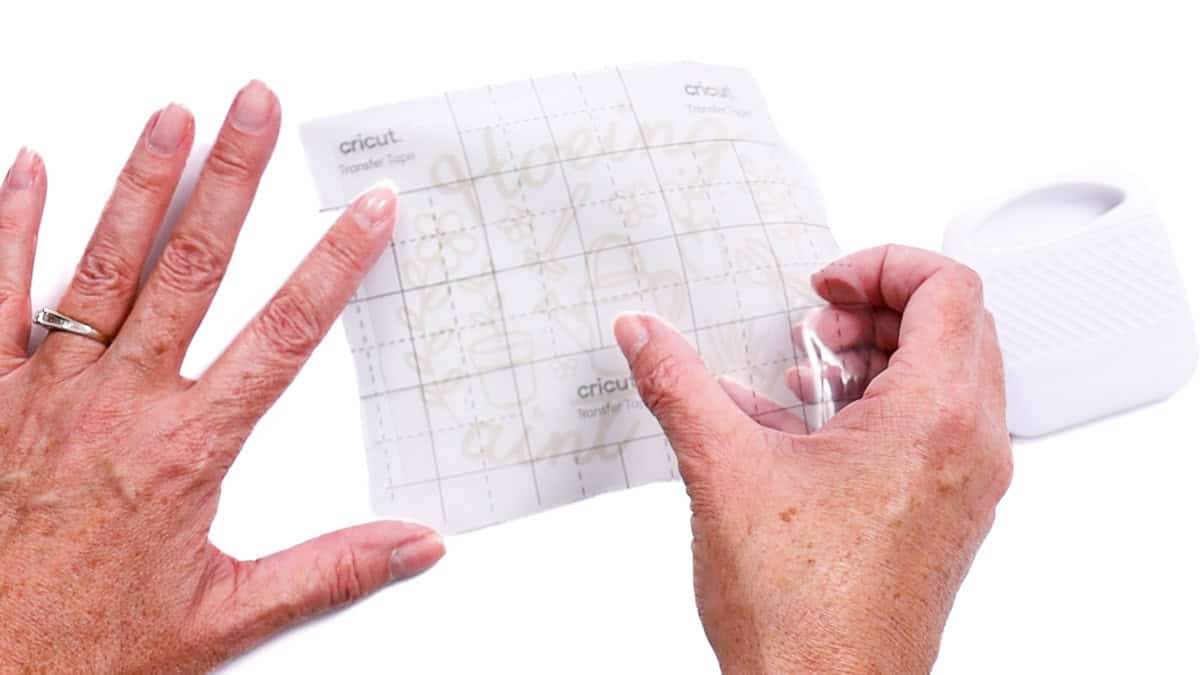
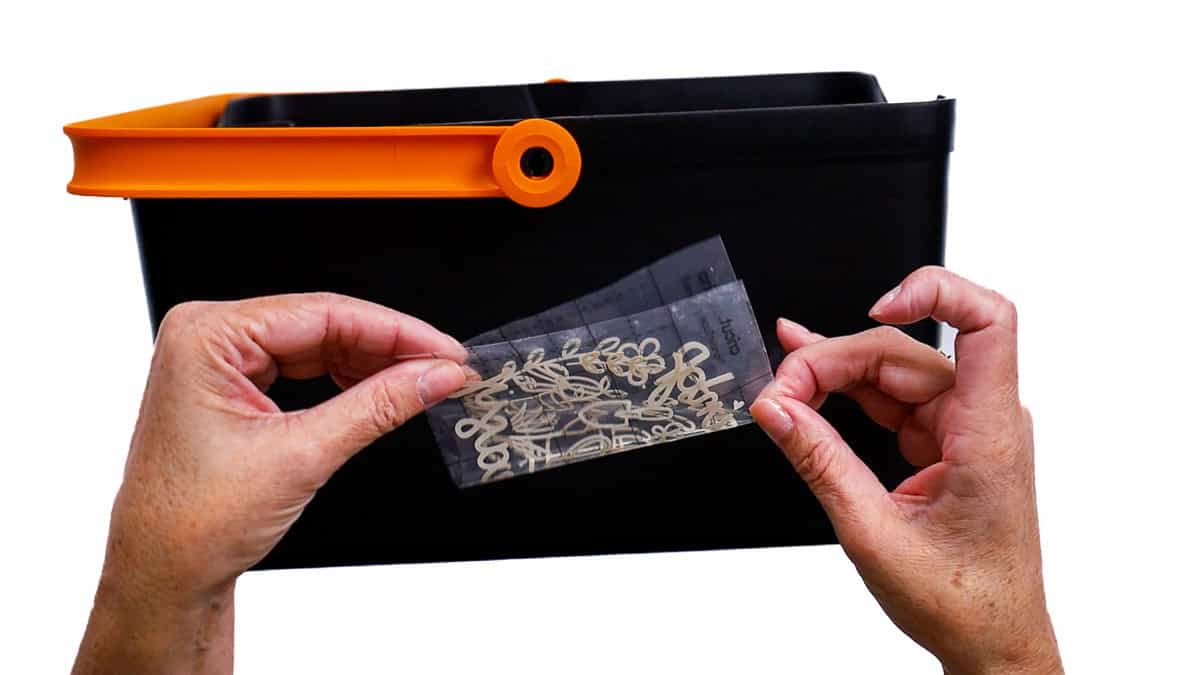
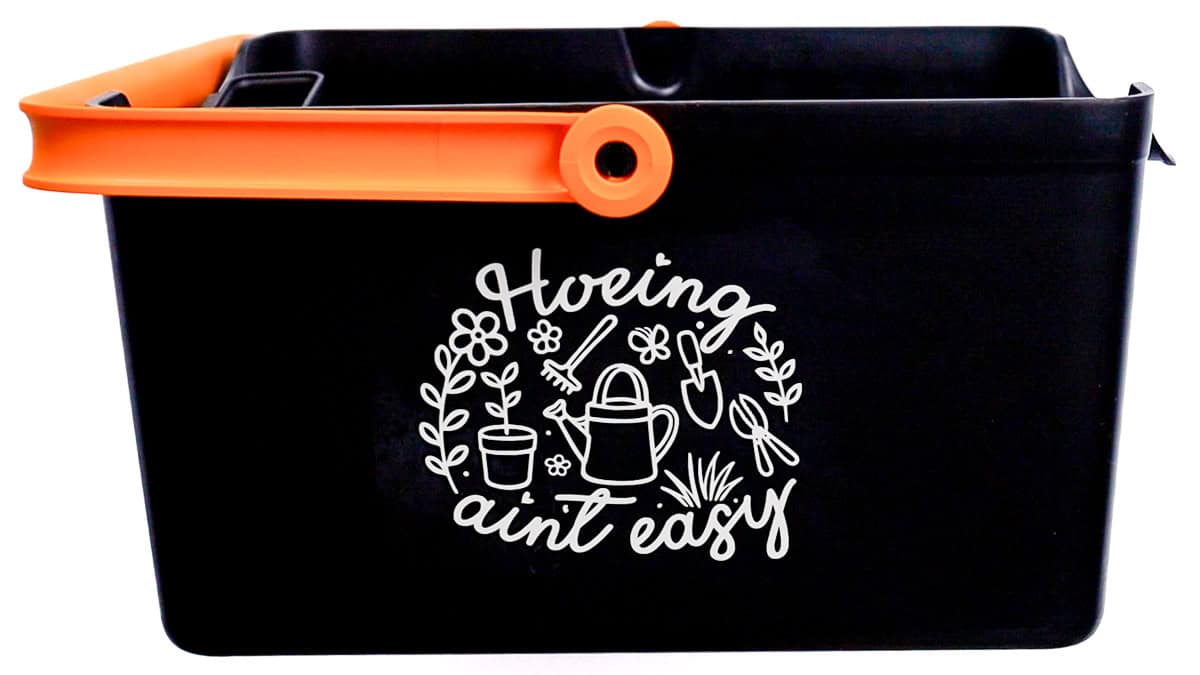
How to Make a Sublimation Hanging Organizer
This submit and pictures could comprise Amazon or different affiliate hyperlinks. If you are going to buy one thing by any hyperlink, I'll obtain a li [...] -
Cute March Coloring Pages
Revealed: Mar 10, 2023 · Modified: Dec 3, 2025 by Shelly · This put up could comprise affiliate hyperlinks · 8 Feedback Let’s have fun the month of Ma [...] -
Soft Strawberry Lemonade Cookies Recipe Everyone Asks For
This strawberry lemonade cookie recipe bakes up delicate with vivid lemon taste in each chunk. I by no means deliberate on making a strawberry lemonad [...] -
DIY Paper Chain Advent Calendar Your Kids Will Love
Kids can assemble their very own simple vacation paper chain countdown utilizing this tutorial! This children introduction calendar is made out of bui [...] -
Simple Popcorn Cake Recipe Everyone Loves
Do that popcorn cake recipe for an simple dessert that mixes candy popcorn with easy substances right into a enjoyable, crowd-pleasing deal with. This [...] -
DIY Personalized Pencils That Make Writing More Fun
Who doesn’t need a set of fairly DIY personalised pencils to commence a brand new college 12 months? These additionally make nice items – and are simp [...] -
Make maritime lanterns with sand: This is how maritime upcycling works
With maritime lanterns with sand you possibly can deliver an actual vacation feeling house. All you want is a number of supplies, somewhat creativity [...] -
Easter eggs in Marimekko style: Finnish design made by yourself
Easter eggs in the Marimekko type convey a breath of recent air to your Easter decorations as a result of they mix clear shapes with sturdy con [...] -
How to Color Glass with Mod Podge and Food Coloring
Flip extraordinary mason jars into attractive stained-glass-style decor with simply Mod Podge and meals coloring! This DIY is effortless, budget-frien [...]


