Apply the Iron-On
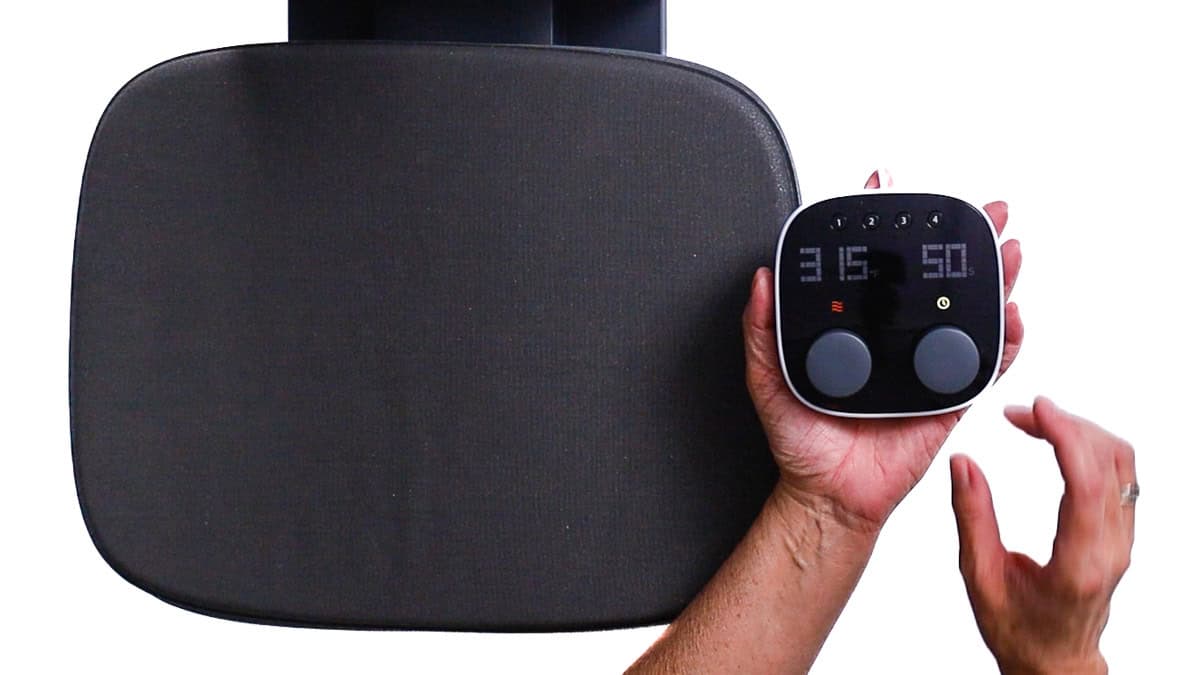
I am utilizing the Cricut Autopress, however any warmth press will work for this mission.
Earlier than urgent, I checked the Cricut Warmth Information to substantiate the right temperature and time.
Simply choose your warmth press, switch materials, and base materials, and it offers you every thing you want.
I preheated my press to 315°F and set the timer for 50 seconds. These settings labored for each the Intelligent Iron-On and the glitter iron-on.
Whereas the press heated up, I prepped my shirt by working a lint curler over the entrance to take away any fuzz or hair.
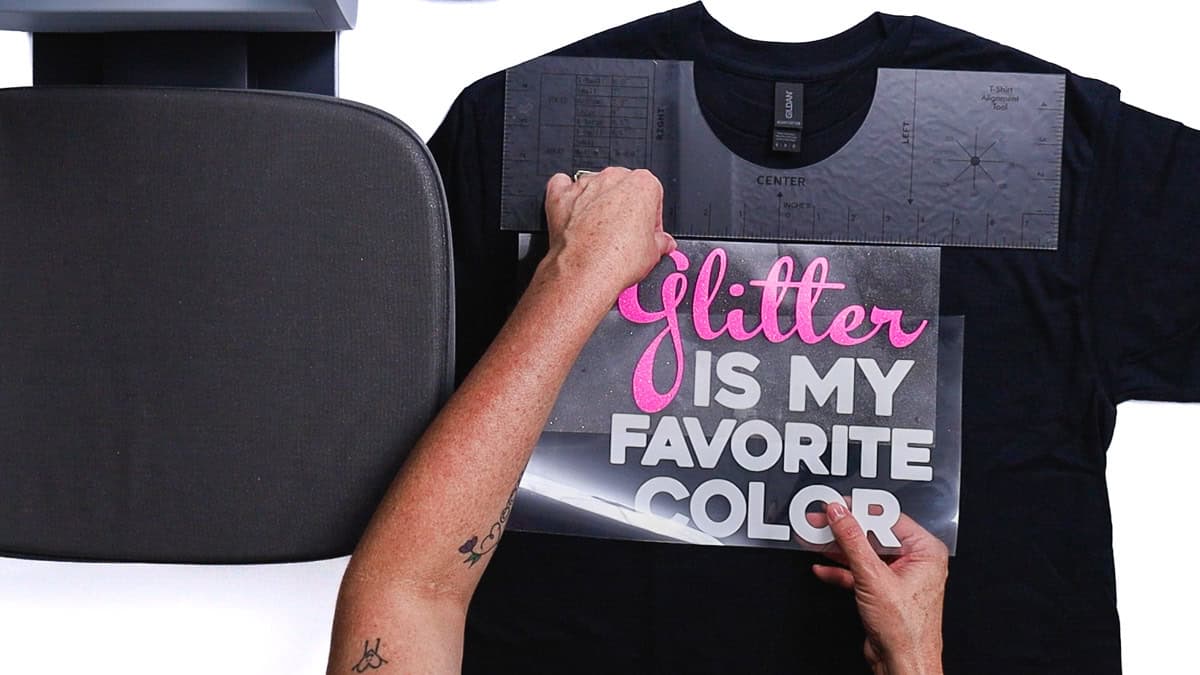
I layered the glitter over the white iron-on with the spacing I needed.
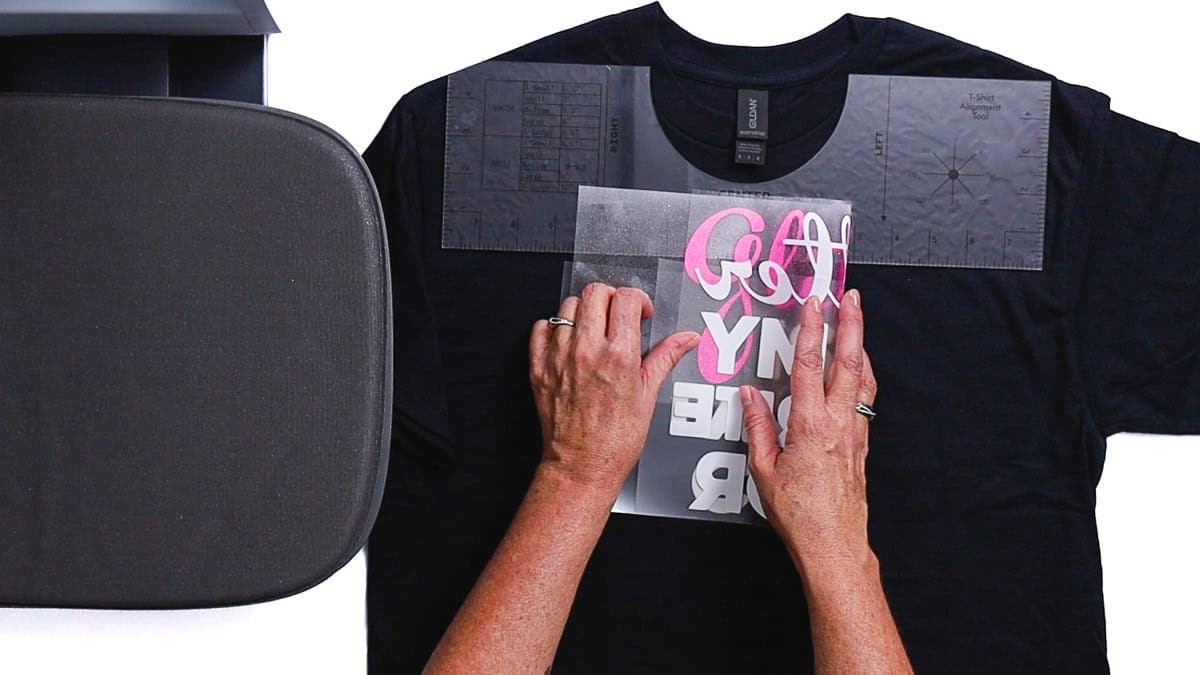
To search out the middle, I folded the design in half horizontally, then flippantly pinched the perimeters.
These pinch marks make lining every thing up a lot simpler.
A T-shirt ruler helps with placement, however it’s not required.
I positioned the design about 3 inches under the collar.
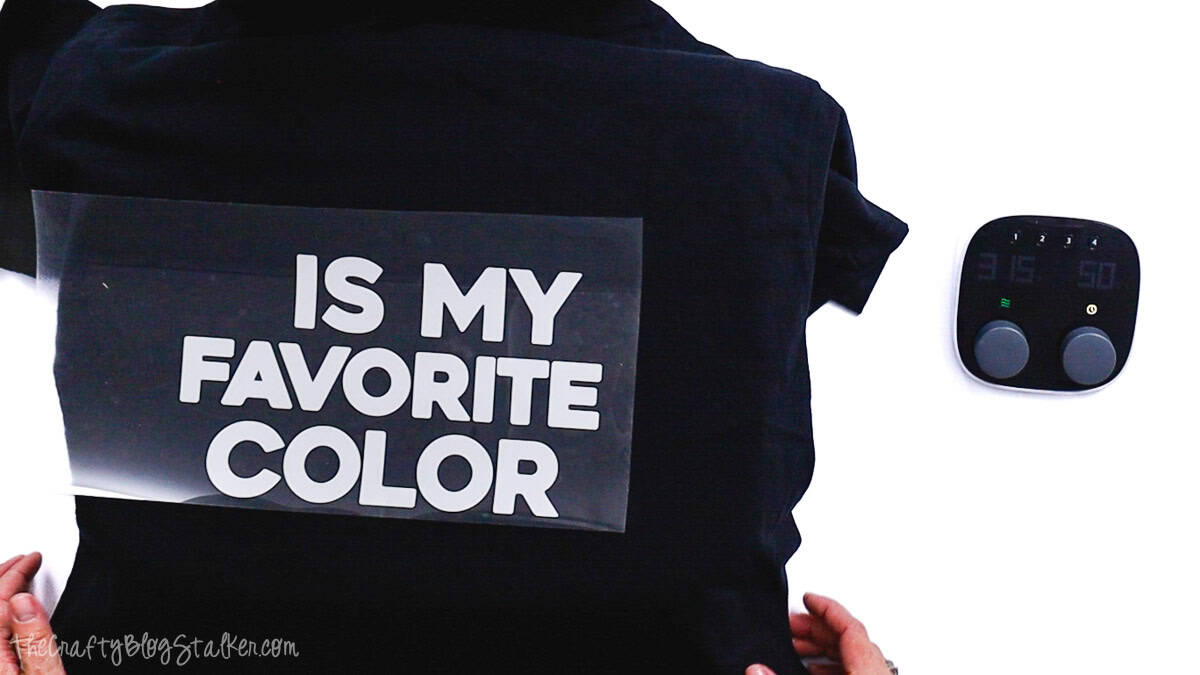
The iron-on liner is barely sticky, so as soon as the design was in place, I peeled up the glitter layer and moved the shirt to the warmth press.