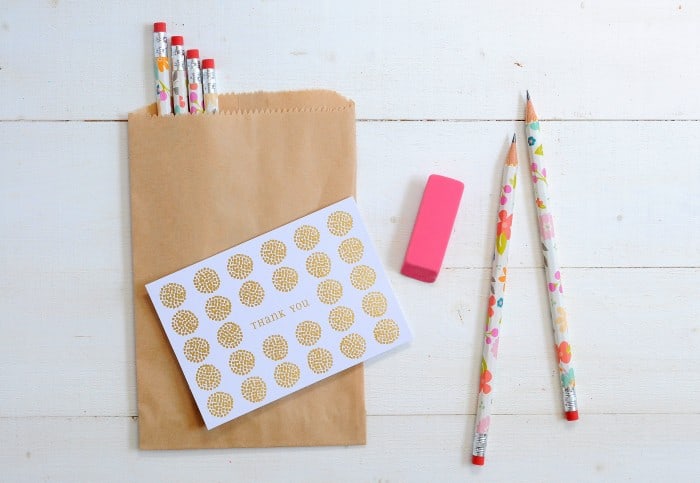
Who doesn’t need a set of fairly DIY personalised pencils to commence a brand new college 12 months? These additionally make nice items – and are simple to do with Mod Podge.
Expertise Required: None. Even in the event you’ve by no means Mod Podged earlier than, this will likely be an achievable challenge for you. It’s easy sufficient for teenagers or adults.
Ever since I used to be somewhat lady, I’ve had a love of recent, model new college provides. The precise going again to high school half . . . not as a lot . . . however new No. 2 pencils and clean notebooks at all times make me swoon!
Who doesn’t need a set of spiffy pencils to commence a brand new college 12 months? These pencils are one among my favourite crafts for teenagers or tweens. Additionally they make nice items – and are simple to do with Mod Podge.
Paper to Use
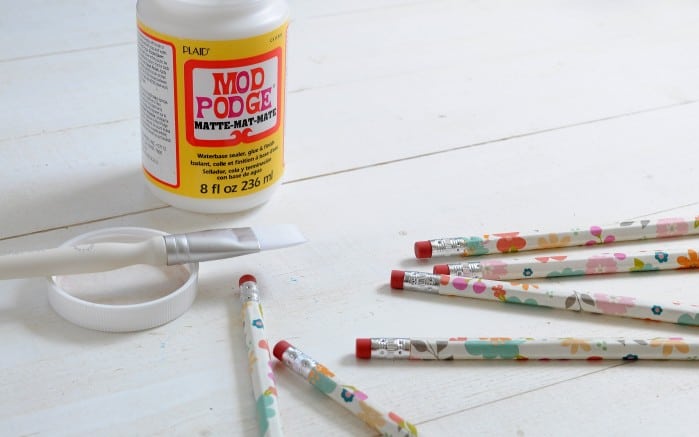
The one caveat I’ve is that you simply’re going to wish to decide a thinner paper. Normal scrapbook paper is certainly too thick and never going to work – you need the pencil to suit right into a sharpener!
Wrapping papers are sometimes skinny sufficient, in addition to the thinner rolls of kraft paper. Napkins and tissue paper will work, however it might probably take some follow in order that they don’t wrinkle. I like to stay with the thinner wrapping papers.
You’ll be able to simply make these at residence. Hold studying to leap into the challenge!
The right way to Personalize Pencils
Learn to make customized pencils with fairly paper and Mod Podge! These paper wrapped pencils are a extremely simple craft.
Prep Time20 minutes minutes
Energetic Time30 minutes minutes
Dry Time2 hours hrs
Complete Time2 hours hrs 50 minutes minutes
Yield: 6 pencils
Value: $2
-
Commence by chopping the paper into strips, 6 1/2 inches by 1 1/2 inches (or no matter measurement you want; use your ruler).
-
Brush a skinny layer of Mod Podge onto the again of the paper strips. Watch out to not oversaturate the paper.
-
Lining up the paper on the eraser conclude, tightly wrap the paper across the pencil by slowly rolling it round and smoothing any bumps or air bubbles if needed. Let the pencils dry utterly earlier than sharpening.
Step 1: You’ll wish to get the size fairly spot on. You don’t must get the circumference as correct, although you don’t need the paper to overlap too a lot. The paper wrapped pencil nonetheless wants to enter a sharpener.
For those who get pleasure from these cool personalised pencils, I’d love so that you can try these different associated tasks for varsity or workplace:
Backpack Charms • Cute DIY Pencil Holders • Decoupage Postcard Desk • DIY Clipboard • DIY Desk Organizer • DIY iPad Case • DIY Paperweights • DIY Perpetual Calendar • Material Coated Bins • Glitter Cellphone Case • Make a Mousepad • Pocket book Covers